An upholstered chair with a not-so-satisfactory back cushion is quite frustrating, isn't it? Perhaps you have been using the same chair for years and just don't like the style or the fabric anymore, or maybe you simply found the perfect chair, but the backrest isn't quite comfortable for you. Whatever the reason, removing the upholstered backrest will give you the freedom to customize your chair to fit your unique style and preferences. This step-by-step guide will help you get the job done in no time.
Before starting the task, it is important to gather the necessary tools required for the project. The tools needed for the project are as follows:
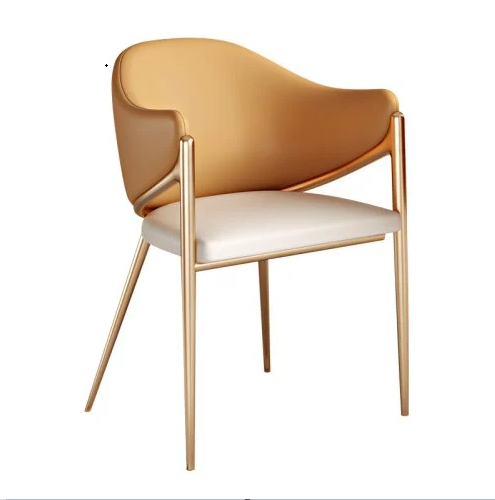
Make sure you have these tools before you start the work.
The first step is to remove the seat cushion to make it easier to access the backrest. To remove the seat cushion, turn the chair upside down and look for screws securing the cushion. If you don't see any screws, try pushing the cushion towards the back of the chair to reveal Velcro fasteners or snaps that may be holding it in place. Once you have found the screws or the fasteners, remove them using a screwdriver or pliers, and gently lift the cushion to detach it from the chair.
With the seat cushion out of the way, you can now remove the old backrest. To do this, locate the staples holding the fabric and padding to the chair frame. Use the staple remover or pliers to pull out the staples, and then gently pull the old backrest away from the frame.
With the old backrest removed, it's time to prepare the new one. Cut a piece of fabric to the desired size, making sure you have enough material to cover the backrest and wrap around to the back of the frame. Place the new fabric face down on a flat surface and place the padding on top of it. Center the old backrest frame on the padding and fabric, and use a staple gun to attach the fabric and padding to the back of the frame. Be sure to staple the fabric and padding tightly to ensure a snug fit.
Now that the new backrest is ready, it's time to reattach it to the chair. Align the new backrest with the frame and gently push it into place. Make sure the fabric cover is straight and free of wrinkles, and use the staple gun to secure the fabric to the chair frame. Trim any excess fabric with scissors if necessary. Once the backrest is attached, reattach the seat cushion and you're done!
Removing an upholstered chair back may seem daunting, but it's actually a straightforward process with the right tools and techniques. By following these simple steps, you can remove an old backrest and replace it with a new one, giving your chair a fresh look and improved comfort. With these tips, there's no need to put up with an uncomfortable backrest or an outdated chair – you can create the perfect sitting experience for your needs and preferences.

Copyright © 2022 Sendy Furniture Co.,Ltd. All Rights Reserved.Site MapDesigned by